Ubuntu 12.04 – Install Jenkins 1.4 with Jetty 9
This tutorial requires that Jetty is installed as described at http://pietervogelaar.nl/ubuntu-12-04-install-jetty-9.

This tutorial describes how to install Jenkins 1.4 with a jenkins.war file with Jetty 9. I installed it on ubuntu 12.04 but it shouldn’t be very different on other linux distributions.
Perform all steps as root.
First of all get the latest jenkins war (web archive) file!
cd /opt/jetty/webapps
wget http://mirrors.jenkins-ci.org/war/latest/jenkins.war
Jetty will probably immediately detect the war file and does a hot deploy, but to be sure restart Jetty.
service jetty restart
I configured Jetty at port 8085, so now you can visit Jenkins in your browser with at http://example.com:8085/jenkins.
You will probably get the error “HTTP ERROR: 503 Problem accessing /jenkins. Reason: Service Unavailable”
This is because a security handler is required. Create the file /opt/jetty/webapps/jenkins.xml with the code below. I derived this file from the webapps/test.xml file that is supplied by default in the Jetty 9 distribution as an example.
nano /opt/jetty/webapps/jenkins.xml
<!DOCTYPE Configure PUBLIC "-//Jetty//Configure//EN" "http://www.eclipse.org/jetty/configure.dtd">
<!-- ==================================================================
Configure and deploy the jenkins web application in $(jetty.home)/webapps/jenkins
Note. If this file did not exist or used a context path other that /jenkins
then the default configuration of jetty.xml would discover the jenkins
webapplication with a WebAppDeployer. By specifying a context in this
directory, additional configuration may be specified and hot deployments
detected.
===================================================================== -->
<Configure class="org.eclipse.jetty.webapp.WebAppContext">
<!-- - - - - - - - - - - - - - - - - - - - - - - - - - - - - - - - - -->
<!-- Required minimal context configuration : -->
<!-- + contextPath -->
<!-- + war OR resourceBase -->
<!-- - - - - - - - - - - - - - - - - - - - - - - - - - - - - - - - - -->
<Set name="contextPath">/jenkins</Set>
<Set name="war"><SystemProperty name="jetty.home" default="."/>/webapps/jenkins.war</Set>
<!-- - - - - - - - - - - - - - - - - - - - - - - - - - - - - - - - - -->
<!-- Optional context configuration -->
<!-- - - - - - - - - - - - - - - - - - - - - - - - - - - - - - - - - -->
<Set name="extractWAR">true</Set>
<Set name="copyWebDir">false</Set>
<Set name="defaultsDescriptor"><SystemProperty name="jetty.home" default="."/>/etc/webdefault.xml</Set>
<!--<Set name="overrideDescriptor"><SystemProperty name="jetty.home" default="."/>/webapps/jenkins.d/override-web.xml</Set>-->
<Get name="securityHandler">
<Set name="loginService">
<New class="org.eclipse.jetty.security.HashLoginService">
<Set name="name">Jenkins Realm</Set>
<Set name="config"><SystemProperty name="jetty.home" default="."/>/etc/realm.properties</Set>
<!-- To enable reload of realm when properties change, uncomment the following lines -->
<!-- changing refreshInterval (in seconds) as desired -->
<!--
<Set name="refreshInterval">5</Set>
<Call name="start"></Call>
-->
</New>
</Set>
<Set name="authenticator">
<New class="org.eclipse.jetty.security.authentication.FormAuthenticator">
<Set name="alwaysSaveUri">true</Set>
</New>
</Set>
<Set name="checkWelcomeFiles">true</Set>
</Get>
<!-- Add context specific logger
<Set name="handler">
<New id="RequestLog" class="org.eclipse.jetty.server.handler.RequestLogHandler">
<Set name="requestLog">
<New id="RequestLogImpl" class="org.eclipse.jetty.server.NCSARequestLog">
<Set name="filename"><Property name="jetty.logs" default="./logs"/>/jenkins-yyyy_mm_dd.request.log</Set>
<Set name="filenameDateFormat">yyyy_MM_dd</Set>
<Set name="append">true</Set>
<Set name="LogTimeZone">GMT</Set>
</New>
</Set>
</New>
</Set>
-->
</Configure>
Refresh your browser (maybe a few times or wait a few seconds) and you will see the Jenkins web application! But you probably see the Jenkins layout with an error message displayed:
Unable to create the home directory ‘/home/jetty/.jenkins’. This is most likely a permission problem. To change the home directory, use JENKINS_HOME environment variable or set the JENKINS_HOME system property. See Container-specific documentation for more details of how to do this.
Create the directory
mkdir -p /home/jetty/.jenkins
chown -R jetty:jetty /home/jetty/
If you refresh your browser you will probably still get the same permission error. After I restarted Jetty it was solved!
service jetty restart
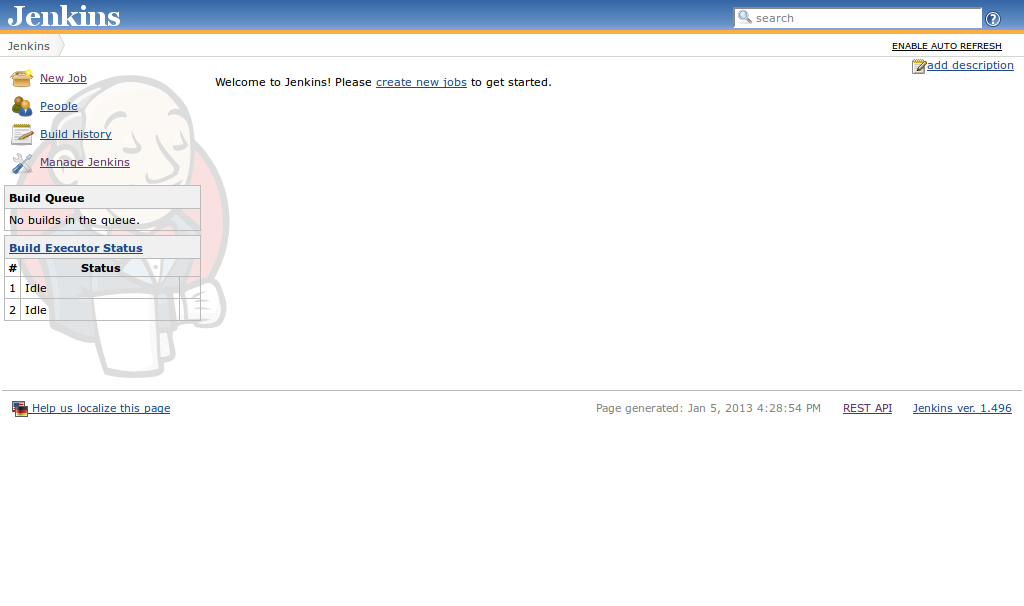
The Jenkins application should be working successfully now!
PHP template
To configure Jenkins for PHP projects I highly recommend the following website: http://jenkins-php.org


