Ubuntu 11.10 – Configure POEdit for Zend Framework
In this post I’ll desribe how to configure POEdit for Zend Framework in Ubuntu. However POEdit is cross platform compatible and has the same GUI on Windows and Mac, so for these platforms you can also follow several steps below.
If you don’t have POEdit installed yet, open a terminal and execute:
apt-get install poedit
Now start the application with “Alt + F2″ and type “poeditor” and double click the icon.
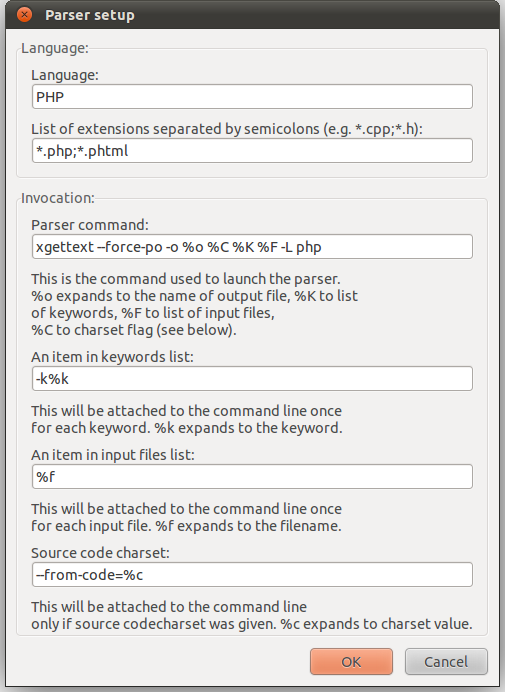
If you start POEdit for the first time, you’ll see the preferences dialog.
Append ” -L php” to the end of the “Parser command:” text field.
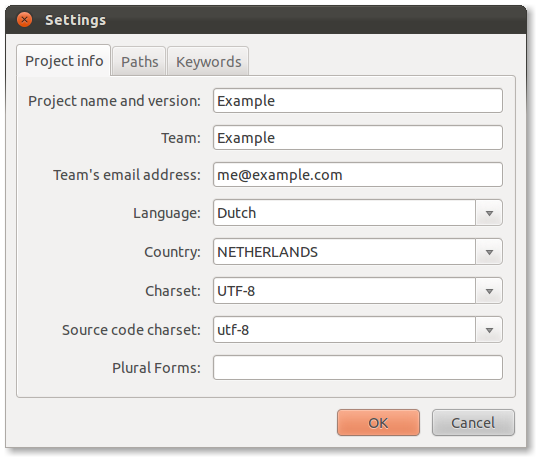
Click OK and you’re done with the preference dialog. Now create a catalog with by clicking on “File -> New catalog”. And fill in your project information, for example see the image below.
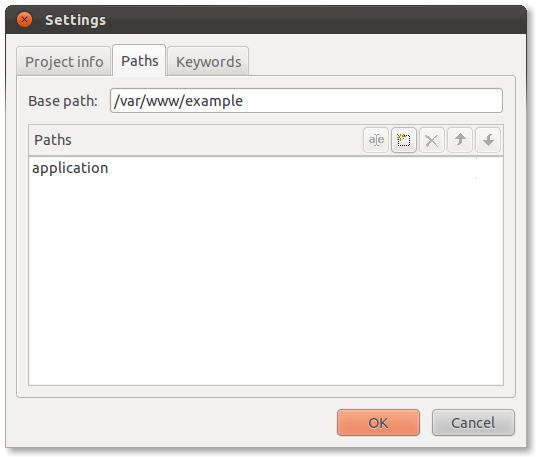
Click on the “Paths” tab and set the absolute or relative path to your project root directory. Add several sub directories that contain strings to translate.
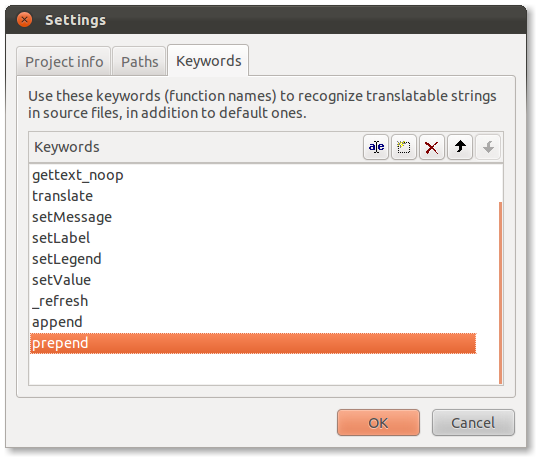
Click on the “Keywords” tab and make sure you have the following keywords to extract also strings from forms etc.
- _
- gettext
- gettext_noop
- translate
- setMessage
- setLabel
- setLegend
- setValue
- _refresh
- append
- prepend
Now save it to a .po file and all translatable strings will be extracted nicely!
Make sure you also read PiKe multi translate with Zend_Translate and application.ini to easily add multiple translation sources, just by defining them in your application.ini.


